Easy Way to Edit Photos Time and Place
Photoshop is generally the last step on a photo's journey. You took your shots and now you need to get them where they need to be in Adobe Photoshop. The post-processing stage is an integral part of digital photography. Even when you've taken a picture that essentially looks perfect to you, there's always room for a little photo editing magic to take it to the next level. In this guide, we will discuss photoshop editing for beginners.
How to edit photos using Photoshop:
There are many photo editing tools out there, but most photographers typically start out with Adobe Photoshop for basic editing. It's a powerful yet intuitive tool that can help you bring out the best in your images, so if you are a serious photographer, it is essential that you learn how to edit pictures with Photoshop. After downloading the software, preparing your images, viewing them on a dual monitor, you'll be able to post-process your images with ease.
1. Crop the image to enhance your composition.
Sometimes, a simple crop can make all the difference. Out of all the photo editing tricks at your disposal, basic cropping is the easiest one that can effectively do wonders for your photo's composition — it allows you to remove unnecessary elements, put more focus on the subject, and create more drama for maximum impact.
Here's an example:
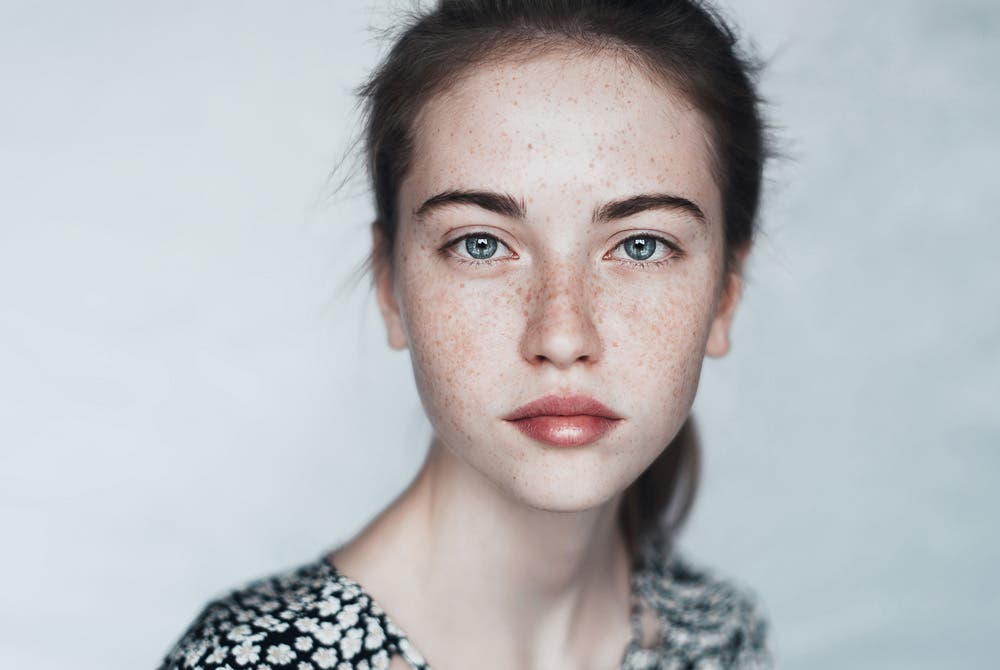
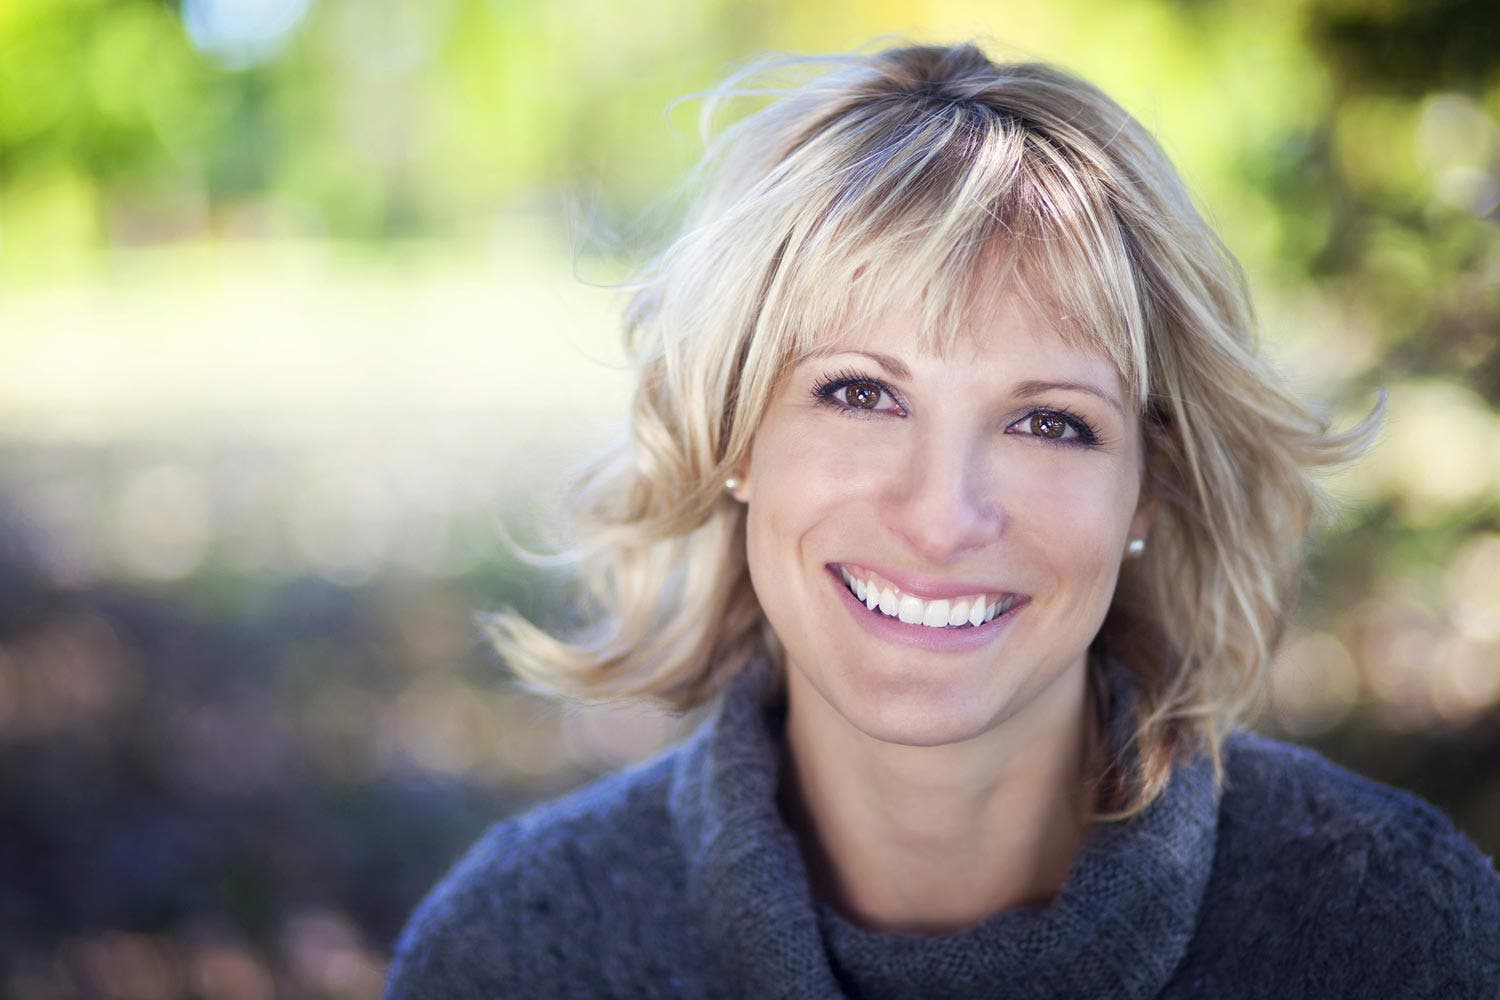
Looking at this picture, you might say that it already looks great—there's no need to do anything else. However, by using the crop tool, you can improve the composition by doing a tighter crop on the model's face, which will help emphasize her features even more.
How to use the crop tool in Adobe Photoshop:
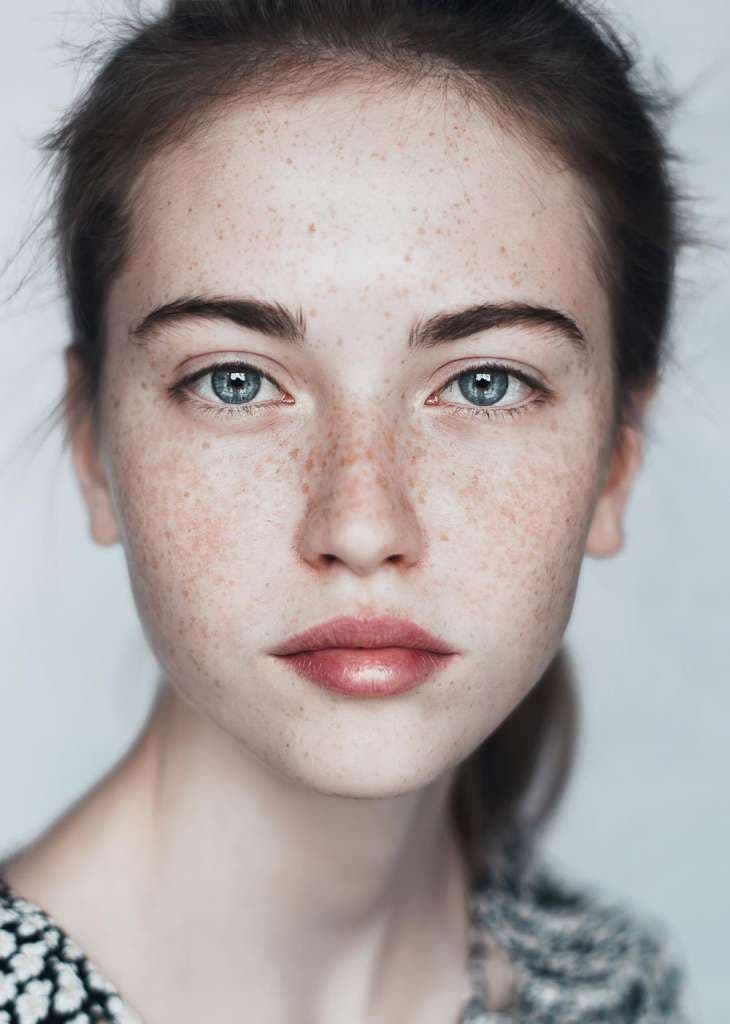
As you can see, cropping out most of the background gives more prominence to the most interesting parts of the photo — the model's freckles, as well as her bright blue eyes.
Cropping is a very simple and seemingly inconsequential step in the photo editing process. Nonetheless, it does make a world of difference in improving a picture's composition. If you're unsure about how to crop a particular photo, experiment with different crops to find the composition that appeals most to you.
Additionally, you can crop and resize your images freely without worrying about ruining their proportions, as Photoshop now transforms most layer types proportionally by default.
Here's a more in-depth breakdown by Miguel Quiles on how you can retouch and edit portraits:
2. Correct the exposure.
Despite your best efforts, there will be times when you still won't be able to achieve the correct exposure for your image. Luckily, if you know how to edit pictures, this can easily be fixed.
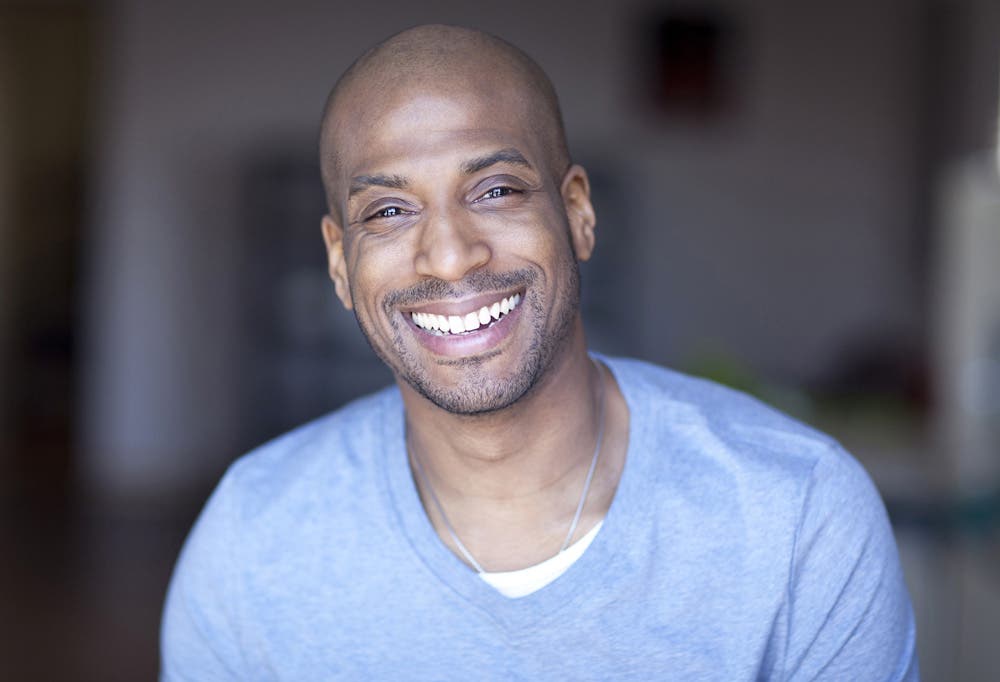
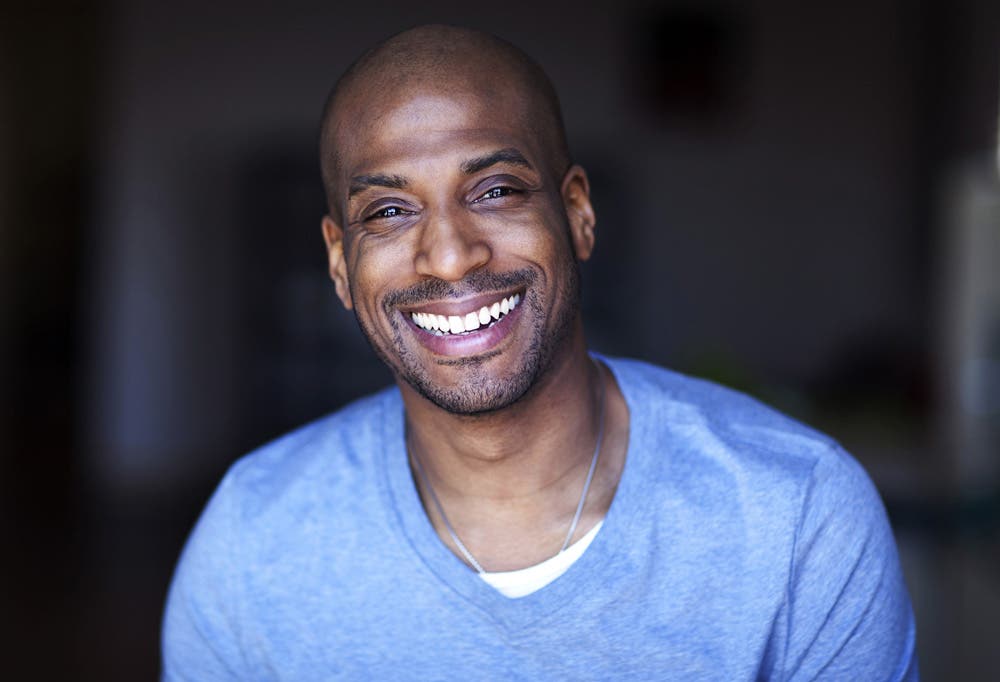
The photo above is slightly overexposed, which washes out the model's skin color and features. Using Photoshop's suite of adjustment tools, you can correct the photo's exposure to bring out more detail.
These tools can be accessed by clicking on Image (on the Menu Bar) and selecting Adjustments from the drop-down menu:
- Brightness/Contrast
- Levels
- Curves
- Exposure
- Shadows/Highlights
- HDR Toning
If you've never used these tools before, Brightness/Contrast, Exposure, and Shadows/Highlights are all pretty straightforward — all you have to do is move the sliders to the left or right to make adjustments. However, for more advanced Photoshop edits, you will have to learn how to read a histogram, which is a chart that shows the tonal range of the photo you are currently editing.
Knowing how to read a histogram will help you make more accurate adjustments, particularly with HDR Toning, as well as Curves and Levels, which are the preferred exposure adjustment tools for more experienced photographers. Adjusting the Levels and having the right Brightness and Contrast in your photos can highlight specific details in your subject as well as give it more clarity and depth.
To learn more about how you can edit bright and vibrant photos and other Photoshop editing tips, check out this video by Vanessa Joy:
3. Make color adjustments if needed.
If you've properly adjusted the white balance on your camera, you shouldn't have to do any color corrections on the resulting photos. Using incorrect white balance will result in a color cast, and that can dramatically affect the vibrance, saturation, and contrast of your photos.
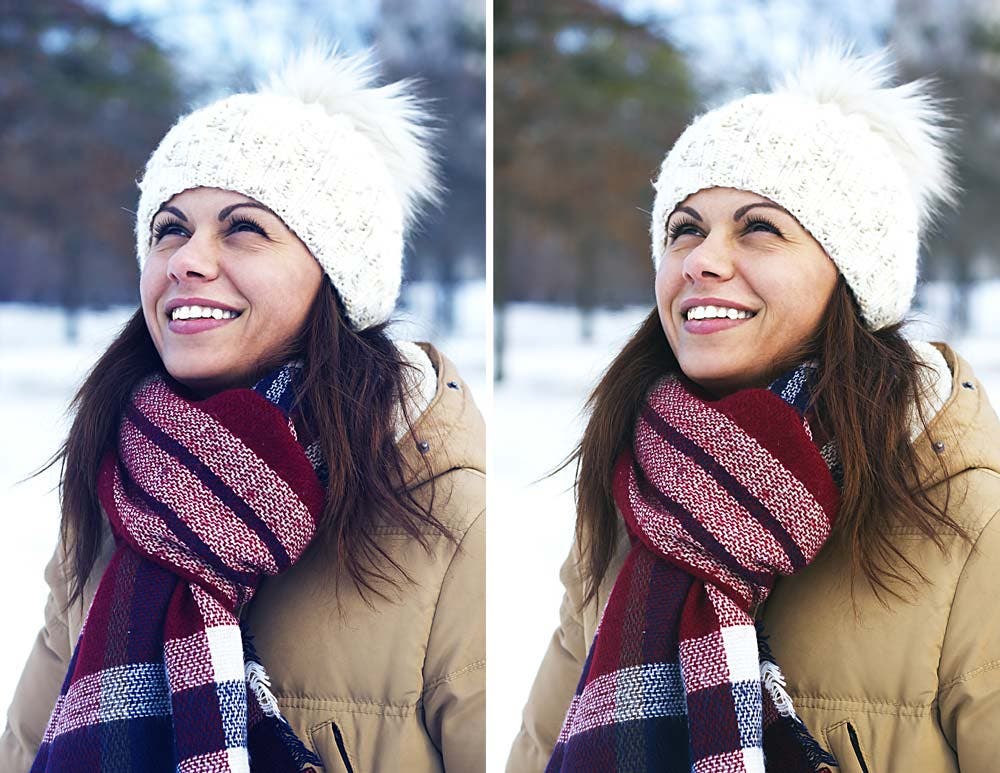
Let's say your photo has a bit of a blue tinge to it. You can leave it like that if you like it, but if you want your photo to have more accurate colors, Photoshop tools can help you fix that. The simplest tool for this is the Color Balance, which lets you adjust the colors of your image's shadows, midtones, or highlights, or Selective Color, which allows you to choose a specific color in the image and change only those colors — for instance, if your model's skin appears too yellow or red, Selective Color allows you to make adjustments to the skin without affecting the other colors in the picture.
Always remember to create a Photo Filter adjustment layer so that you can modify the color of your image while preserving the original one. First, open your chosen image in Photoshop. Click the Adjustment Layer icon in the Layers panel after, and select your desired Photo Filter. You can also apply a photo filter as a direct adjustment (Image > Adjustments > Photo Filter), since it provides a layer mask for editing only a part of your photo while protecting the original photo from permanent changes.
How to use Color Balance in Adobe Photoshop:
- Click on Image in the Menu Bar, then click on Adjustments, then Color Balance.
- Select which tones in the image you want to change (shadows, midtones, or highlights).
- Check the Preserve Luminosity box.
- Check the Preview box to see your adjustments in real time.
- Move the sliders to achieve your desired color balance.
How to use Selective Color in Adobe Photoshop:
- Click on Image in the Menu Bar, then click on Adjustments, then Selective Color.
- Check the Preview box to see your adjustments in real time.
- Choose from Relative (a more subtle change) or Absolute.
- Select the color from the drop-down menu that you want to adjust.
- Move the sliders to increase or decrease the color cast from your chosen color.
You can also use Vibrance, Hue/Saturation, or Channel Mixer (under Adjustments) for color correction. If that wasn't enough, you can also visualize how you want the colors in your image to look like using the Color Wheel Color Picker. This update on the Photoshop CC 2019 allows you to see and choose particular colors, from harmonious groups to complementary and analogous colors. You can do this by selecting the Color Wheel option from the Color panel fly-out menu.
The Dodge and Burn tools, on the other hand, allow you to highlight or darken specific areas in your photo to give it additional texture or character.
How to use the Dodge and Burn Tools:
- Create a new layer and set its mode to Overlay.
- Check the box that says, "fill with overlay-neutral color (50% gray)." Doing so lets you apply dodge and burn adjustments without manipulating the original image.
- Select the Dodge Tool and set your brush to a smaller and softer setting.
- Paint over specific areas you want to brighten using the Dodge Tool and darken areas using the Burn Tool.
- Remember to use a soft brush setting and do smaller strokes so as not to overdo the effects
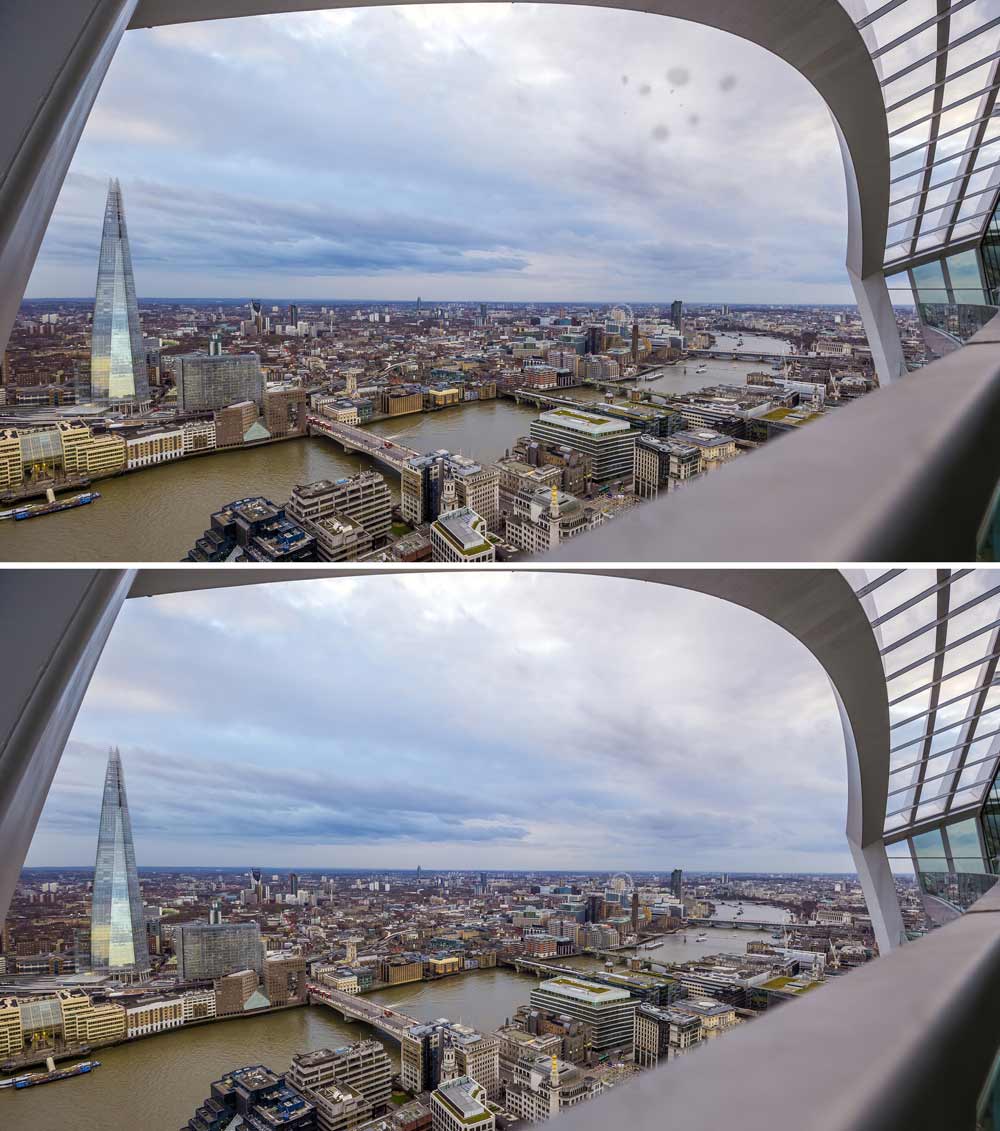
4. Remove unwanted spots (sensor dust, blemishes, and more).
Now that you've corrected the color of your image, it's time for some selective corrections. If your sensor is dirty, dust particles will show up in your photos, resulting in small spots that will consistently appear in the same area on every single picture you take. To avoid this problem, make sure to clean your sensor first.
Here's a camera sensor cleaning tutorial by Doug McKinlay:
But if you've already taken photos with a dirty sensor, you can still edit them out (if there are any visible dust particles) using Photoshop by using the following tools:
You can use the same tools for any imperfections you would like to remove — perhaps some blemishes on the model's skin, a stain on the model's clothes that you didn't notice during the shoot, a dirty background, as well as odd and fine patterns known as the moiré effect.
To learn more about moiré patterns and how you can retouch them in Photoshop, check out this video:
Before & After
How to use the Spot Healing Brush Tool:
- Select the Spot Healing Brush Tool from the Toolbox.
- Choose your desired brush size using the drop-down menu in the upper right corner.
- Choose Type: Content-Aware or Proximity Match.
- Click on the spot you want to fix.
How to use the Healing Brush Tool:
- Select the Healing Brush icon from the Toolbox (grouped under the Spot Healing Brush tool).
- Choose your desired brush size using a drop-down menu in the upper right corner.
- Choose Sampled as your source.
- Option+Click on a clean spot that you want to use as your source.
- Click on or drag the cursor along the spot you want to fix.
How to use the Patch Tool:
- Select the Patch Tool from the Toolbox (grouped under the Spot Healing Brush tool).
- Select Source (underneath the taskbar).
- Use the cursor to encircle the spot or blemish to create a selection.
- Drag the selection to a clean spot that is closest in color and appearance to the spot you're trying to repair.
How to use the Clone Stamp:
- Select the Clone Stamp icon in the Toolbox.
- Adjust the brush size to the corresponding size you want.
- Alt+Click to "clone" a clean spot that you want to use for the blemish.
- Adjust Opacity if needed.
- Click or drag the cursor around the blemish or spot to "paint" over it with the cloned pixels from your sampling point.
How to use Content-Aware Fill:
The latest version of Photoshop now features the Content-Aware Fill option. This feature allows you to remove unwanted objects from your photos.
Here's a quick summary on how you can use Content-Aware Fill:
- First, draw a selection around an area or object that you want to replace.
- Make sure to create the selection as close to your subject as possible but leaving enough space to give Photoshop material to work with.
- Open the Content-Aware Fill taskspace (Edit > Content-Aware Fill).
- Resize the sampling area and your initial selection using the Sampling Brush Tool and the Lasso Tool respectively.
- Tweak the Fill Settings to improve your output.
- Finalize your output by creating a new layer.
For a more detailed how-to guide on how to use the new Content-Aware Fill workspace, check out this tutorial.
5. Apply sharpening or blurring filters.
Even if your image is in perfect focus, it may still benefit from a bit of sharpening for greater emphasis on the details or to reduce any softening.
Or, if you don't have the right lens to create a more attractive depth of field, Photoshop's blurring tools can help you achieve that (to an extent).
Here's a tutorial on creating depth of field in Photoshop:
Most images benefit from sharpening, as it adds more definition to the edges of your subject. The need for sharpening an image will depend on where you will be viewing the photo, whether on a computer screen or on print. Either way, the rule of thumb in photo editing is, always apply minimal changes in increments. If you want to sharpen your picture, make small adjustments and assess as you go to avoid overdoing it and creating noise in the image.
How to sharpen an image in Adobe Photoshop:
- Reduce the noise in your image (click on Filter on the Menu Bar, click Noise, then select Reduce Noise).
- Create a new layer of the same image (select Layer on the Menu Bar and click Duplicate Layer) or make a selection from the image (click Select on the Menu Bar, click on Edit in Quick Mask Mode, and use the Brush Tool to paint over the part of you want to select).
- Go to Filter, Sharpen, and select any of the Sharpening tools to apply a sharpening filter.
- Repeat if necessary.
Learn more about adjusting image sharpness here.
Other important photo editing tips:
- Always shoot (and edit) your pictures in RAW.
- Calibrate your computer monitor to get accurate color.
- Always make adjustments on a duplicate layer (leaving the Background layer untouched) so that you have a reference and can compare the newly edited layer to the original.
- Make adjustments in small increments, and repeat if necessary.
- Create your own Photoshop workflow to maximize your efficiency
More Photoshop Tips
To flatten your Photoshop learning curve, check out some of the other great step-by-step tutorials available in our blog. With a little instruction, you'll be restoring old photos, creating cinemagraphs, adding bokeh, making an animated gif, and more in no time. We even explore some lesser-known tools you can use, provide tricks to help you improve your photography, and introduce some helpful plugins to expand your Photoshop skills.
Finally, check out our other Photoshop tutorials for more learning opportunities:
- 3 Ways to Add Contrast in Photoshop
- How to Blur a Background in Photoshop
- How to Resize a Photo in Photoshop
- A Complete Guide to Color Grading (in Lightroom and Photoshop)
- How to Make a Layer Mask in Photoshop
Photoshop for Beginners Frequently Asked Questions
Which Photoshop is best for editing?
Adobe has updated and adjusted its photo-editing offerings many times over the years. With so many products to choose from, it can be daunting to know which one to choose.
The Creative Cloud Photography plan is a monthly subscription service that includes Lightroom and Photoshop for a computer or iPad. You can also purchase the Photoshop app as a monthly subscription. In both of these cases, you'll get the complete version of Photoshop with full functionality—the perfect tool for photo editing.
The great thing about the subscription option is that you'll always have the most updated version. This gives you instant access to any new and exciting features Adobe may develop.
For the latest version, check out our hands-on review of Photoshop Elements 2022 to see the newest releases and improvements to the software.
Plenty of competitors have popped up to offer alternative photo editing software, but Adobe remains the most popular choice. That means you'll find more tutorials and plug-ins for Photoshop than for any of its competitors.
Can I Photoshop for free?
If you're interested in using Photoshop without signing up for a subscription, you can use the Photoshop Express app for free. It's available for Android and iOS devices, and it offers several of the most commonly used features in a light, easy-to-navigate version.
Adobe also offers a free 7-day trial of Photoshop and other Creative Cloud apps, separately or in various bundles. Sign up for a free trial to check out all the great Photoshop features at no cost. If you're new to photo editing, Photoshop Express or a free trial are great places to start, but if you're serious about editing photos, a Creative Cloud subscription is the way to go.
How do I start learning Photoshop for beginners?
First, recognize what it is that you are wanting to use Photoshop to do. Are you wanting to edit colors or tones, clean up photos with the clone stamp tool, or maybe a little bit of everything? Reading articles like this one is an amazing way to learn a new platform like Photoshop.
If you're a visual learner, spend time using Youtube to figure things out. Do an introductory photography course online, or watch videos to get a sense of the basics. From there, you can feel free to take a dive in and learn the more advanced parts of Photoshop as you need them.
Is Photoshop difficult to learn?
This all depends on how deep you're willing to dive into the tool, or what you will actually need it for. A lot of photographers use Photoshop to edit every photo they take. Photoshop can and will allow you to do more with your photo, helping you develop a fully creative piece.

Source: https://www.adorama.com/alc/how-to-edit-your-photos-5-photoshop-editing-steps-for-beginners/
0 Response to "Easy Way to Edit Photos Time and Place"
Post a Comment